
proxmox安装centos7-使用qcow2
下载镜像文件
    使用wget下载
    wget https://cloud.centos.org/centos/7/images/CentOS-7-x86_64-GenericCloud-2111.qcow2
    或在web界面下载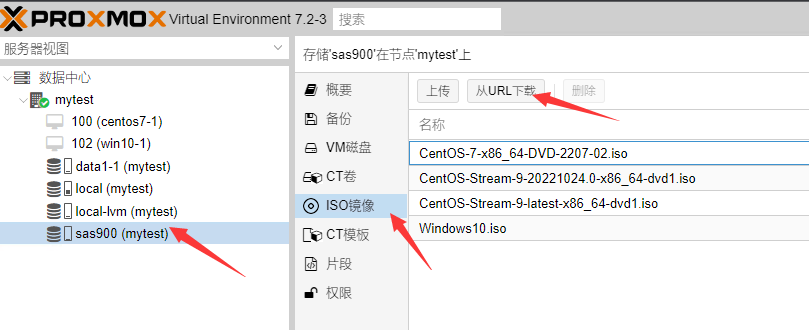
web页面创建虚拟机
详情选项参考下图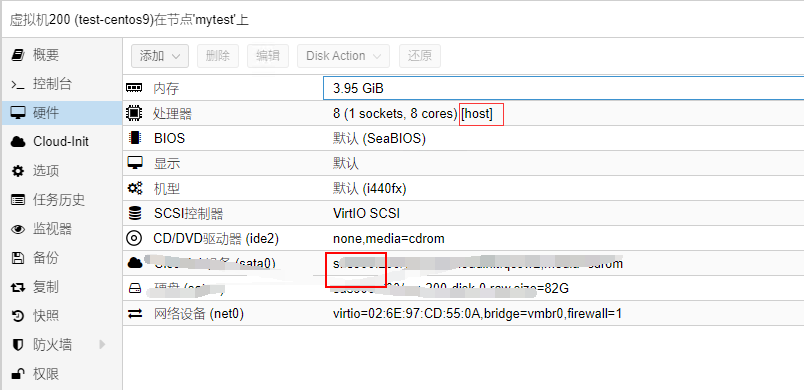
不创建硬盘
注意:cpu选择host型,避免虚拟机内部程序不兼容默认的kvm型
创建cloud-lnit
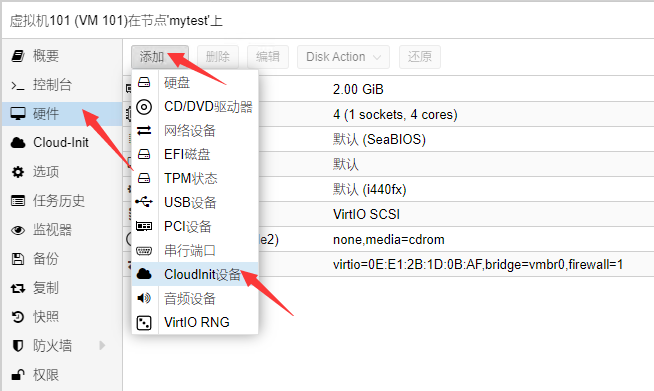
目的是为了创建用户密码、配置dns、ip
导入下载的qcow2格式镜像
    shell下操作
    qm importdisk 101 ./CentOS-7-x86_64-GenericCloud-2111.qcow2  sas900 --format=qcow2
    说明:101 刚才创建的虚拟机id;sas900 存储名字 --format指定导入格式,此处可忽略

    导入成功会提示:
        Successfully imported disk as 'unused0:sas900:101/vm-101-disk-0.qcow2'
使用磁盘
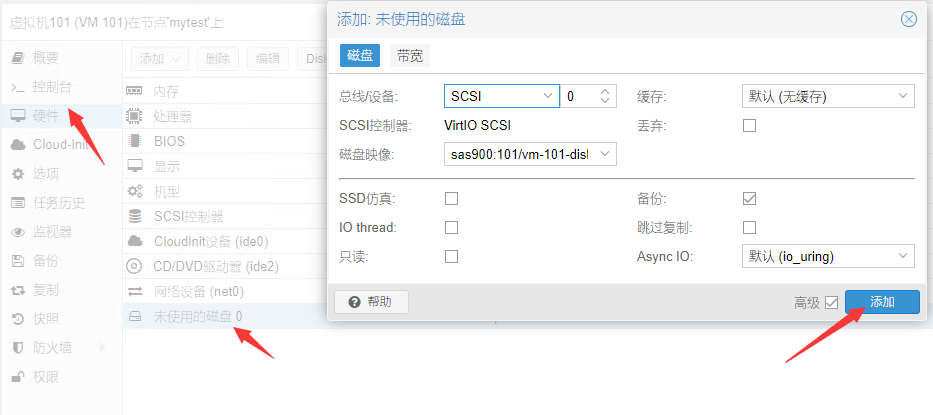
成功导入镜像后,web控制台的硬件部分会显示出一个未使用的磁盘
按上图默认操作即可
修改启动项

将新添的盘设为首选项,或取消其他选项
启动
    web页面启动
    我这个启动过程很慢,要好几分钟。ios镜像装的启动不慢,还没具体研究原因。
登录设置
    如果需要使用公钥登录,关闭:
    vi /etc/ssh/sshd_config 注释 PubkeyAuthentication yes
                            并确保PasswordAuthentication为yes
    开启root远程登录:
    vi /etc/ssh/sshd_config 将PermitRootLogin的值改成yes

    然后:
    systemctl daemon-reload && systemctl restart sshd
备用
    ps -ef |grep "kvm -id 101"
    qm start
    qm stop